Streaming with OBS to Icecast
Streaming live video to Icecast can be tricky, there are not many source clients out there that are able to handle video fine, especially when you do not want to just stream prepared playlists but actual live content. A very good program for video source composition and live streaming is OBS, the Open Broadcaster Studio, which a lot of streamers are using to broadcast to Twitch or other streaming sites. A little known fact though is, that you can stream with it to an Icecast server.
Since OBS Studio version 21 it is now possible to “stream” to an Icecast server. Technically it is not really streaming, as far as OBS is concerned, as what we are going to use for this is the OBS recording functionality. It allows to use FFmpeg to transcode and process the recoding and given that ffmpeg has an Icecast stream output, this means we can use that to send our stream to Icecast!
Configuring Icecast
I assumed you already have installed and done a basic configuration of your Icecast server. To be able to stream video, we need to adapt the config a little bit, so that the Icecast buffer for our video stream will be large enough to hold enough data.
This can be done either globally for all mountpoints, which is appropriate if you only plan to stream video with this Icecast instance.
To change it globally, in the limits section adjust the queue-size and
burst-size. The burst size indicates the amount of data that is sent to
a viewer client at once, when it connects. A good recommendation for that
is to set this to a size that will roughtly correspond to 1 second of video,
so if you are streaming with a bitrate of 2500 Kbit/s you would want to set
this to roughly 2.560.000.
The queue size is the size of the whole queue of data Icecast uses internally per stream, therefore it needs to be larger than the burst size! Let’s set it to something that can roughly hold 5 seconds of video.
<limits>
    <!-- Size of the full queue used for each mount by default -->
    <queue-size>12800000</queue-size>
    <!-- Size of the initial burst of data sent to a
         listener client all at once upon connection -->
    <burst-size>2560000</burst-size>
</limits>
Alternatively, if you do not only stream video or have mountpoints with very varying bitrates, you can set those options per mount:
<mount type="normal">
    <mount-name>/example.ts</mount-name>
    <!-- Size of the full queue used for this mount -->
    <queue-size>12800000</queue-size>
    <!-- Size of the initial burst of data sent to a
         listener client all at once upon connection -->
    <burst-size>2560000</burst-size>
</mount>
Now that we have taken care of the Icecast configuration changes needed for video streaming, let’s move to the interesting part.
Configuring OBS
First, you need to open the OBS settings and navigate to the “Output” section. At the top of that section, you need to select “Output Mode: Advanced” as you need to setup an advanced recording output (FFmpeg). Then select the “Recording” tab.
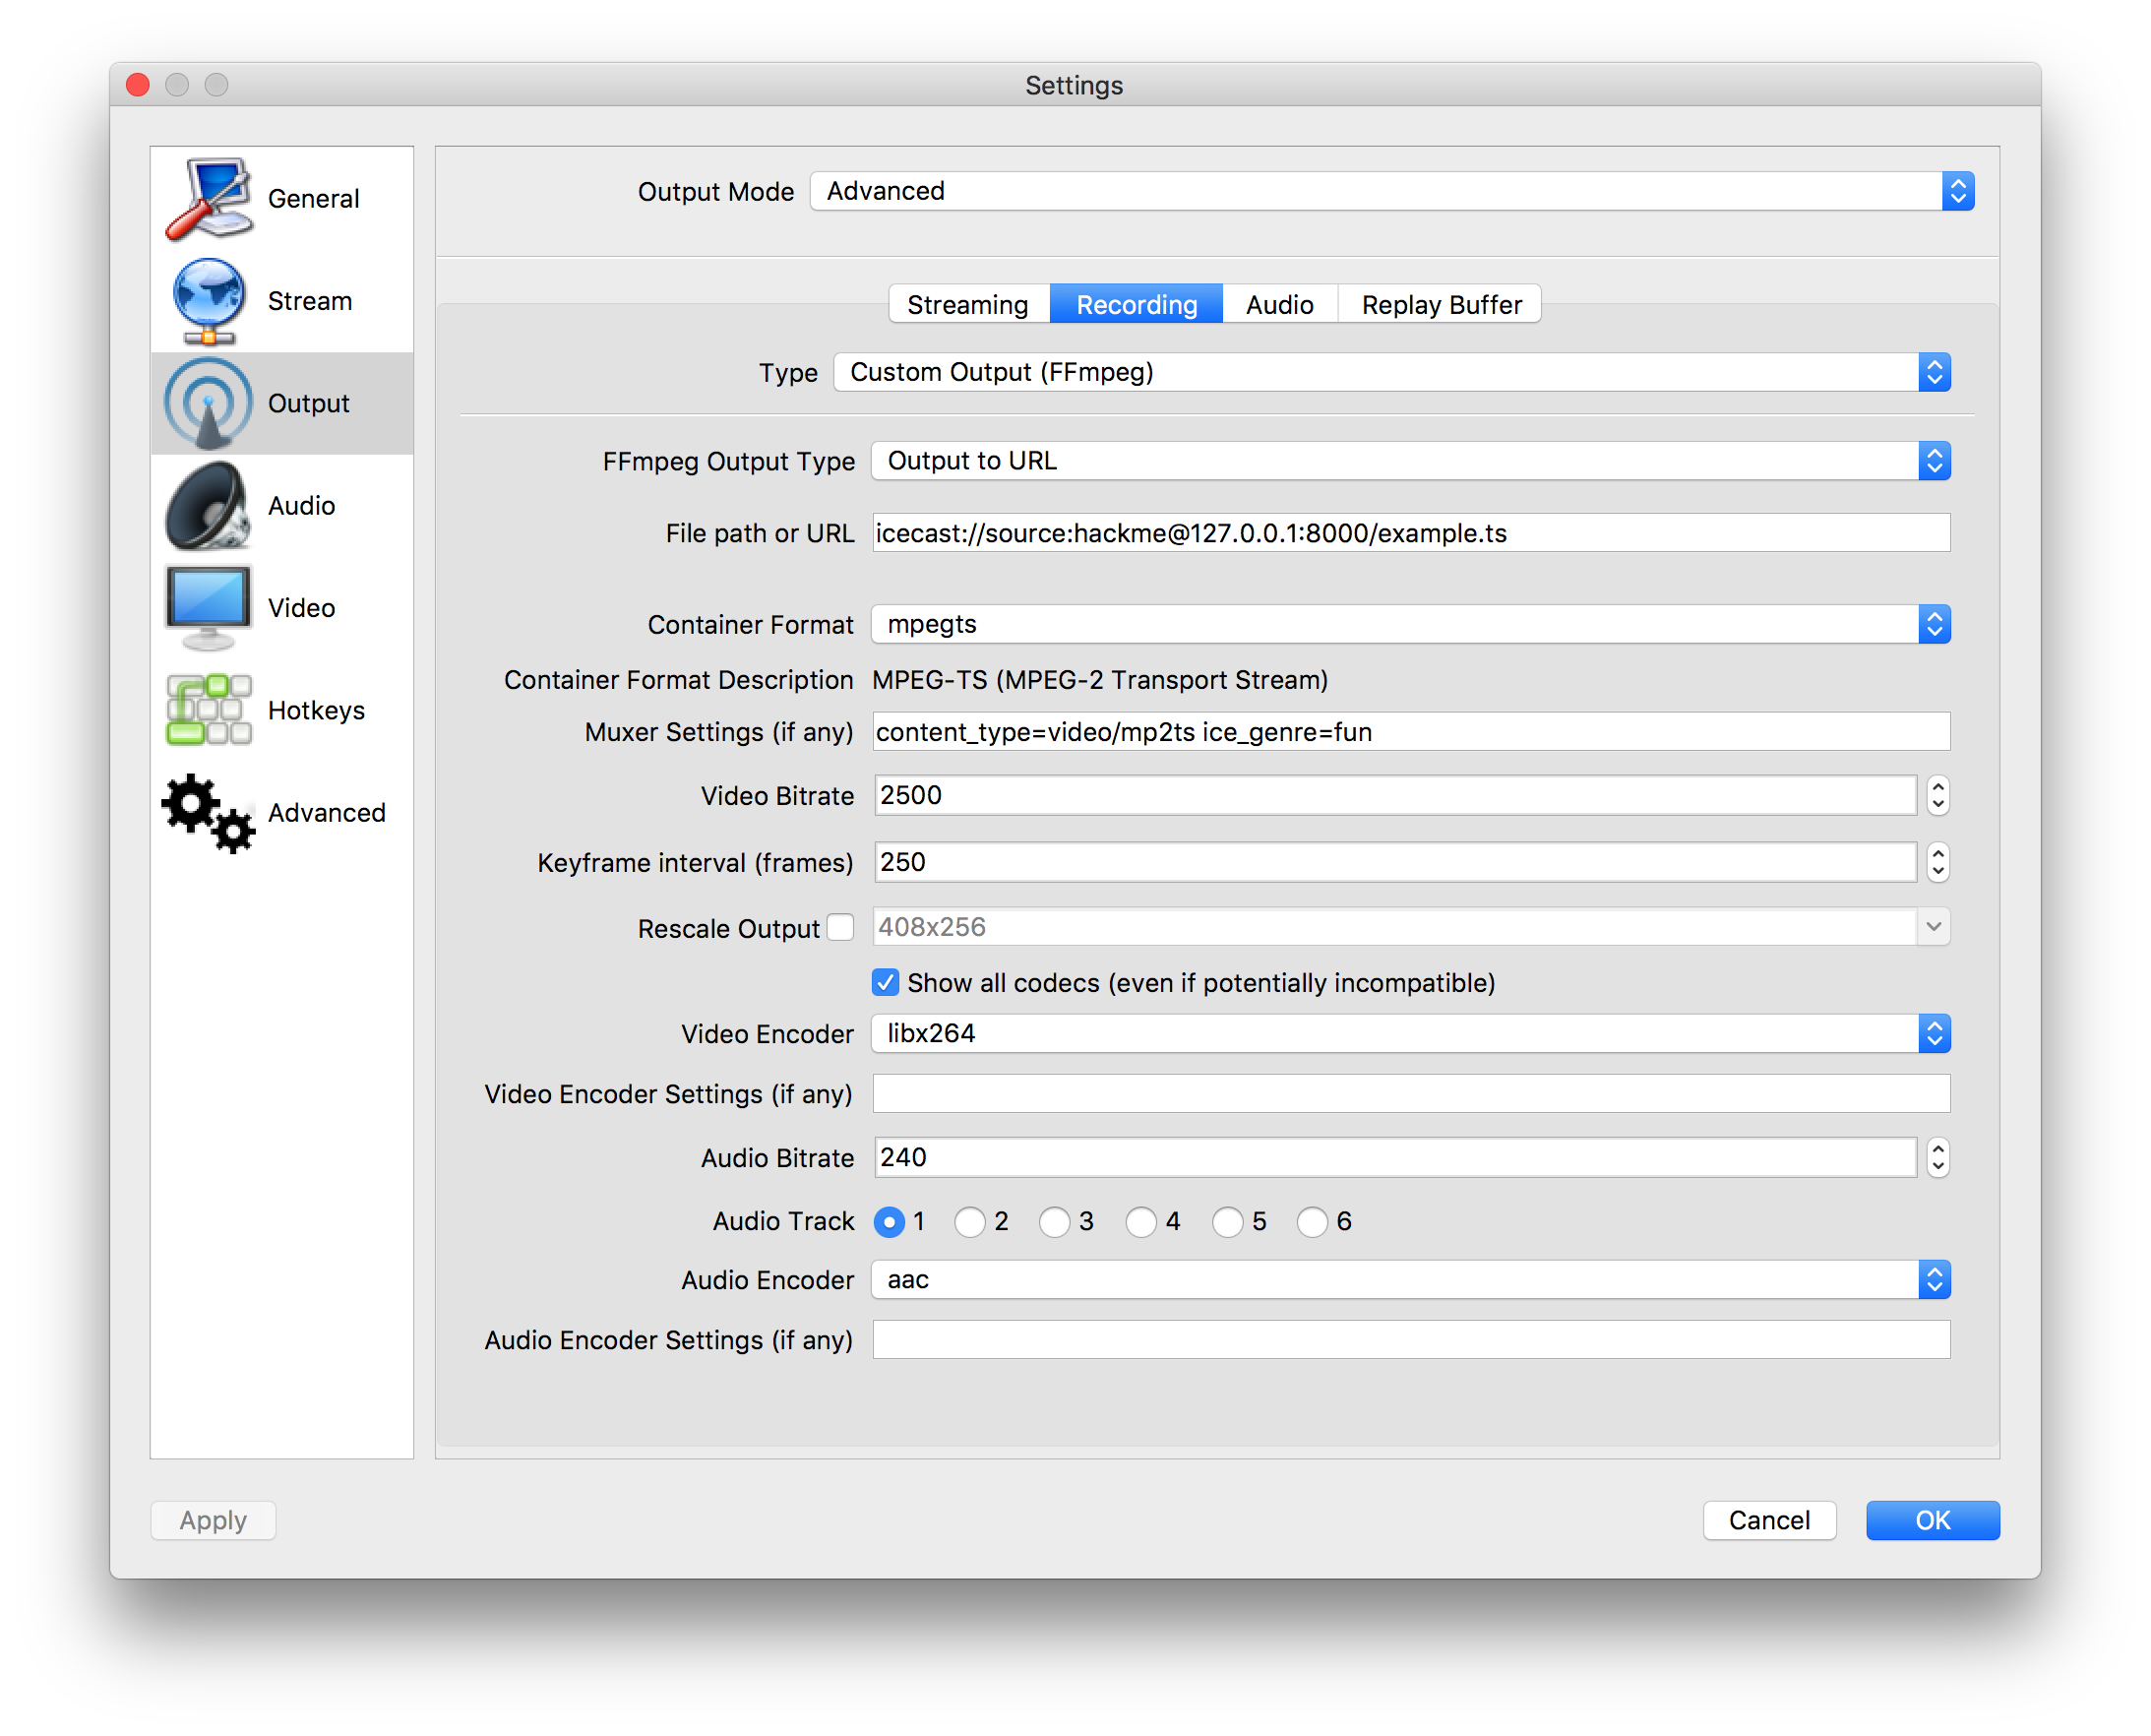
For type you need to select the custom FFmpeg output. The output type needs to be changed to “Output to URL” and you need to enter the connection details for the Server in the URL field. The URL is in the form of:
icecast://user:password@host:port/mountpoint
The username (unless you configured it otherwise), needs to be set to source.
The password is the one that you’ve set in the Icecast config source-password
option.
For example, if your Icecast runs on localhost, has the default settings,
source password hackme and you want to stream on the mount example.ts, the
URL would look like the following:
icecast://source:hackme@127.0.0.1:8000/example.ts
Now you need to select the container format. There are a lot of options, note that depending on what you choose, it might not work. Some container formats require special handling to be streamable, others like mp4 or mov are not live-streamable at all, some require special other settings to work fine.
For simplicitly of this example, I will be using MPEG-TS, note that this is not officially supported by Icecast but works mostly fine as it does not require any special handling by Icecast and works fine with Icecasts default handling for unsupported containers. Officially supported containers in Icecast are currently Ogg and WebM.
Now a very important part, the muxer options. Those options are passed to FFmpeg and you need to setup the Icecast output module here. First, which is the most important, you need to set the correct mime type for our container format. This is the HTTP Content-Type that will be used and Icecast will use the same when serving the stream to players, so if this is set wrong, even if everything is configured correctly, can make your stream fail to open.
As I had chosen MPEG-TS earlier, I would set here:
content_type=video/m2ts
Another option I’ve set, just for demonstration purpose, is the genre. You can find a list of all supported options in the FFmpeg documentation of the Icecast protocol module.
The remaining options are the video and audio codec to use. In this example I’ll be using h264 (encoded by x264) for the video and the aac audio codec.
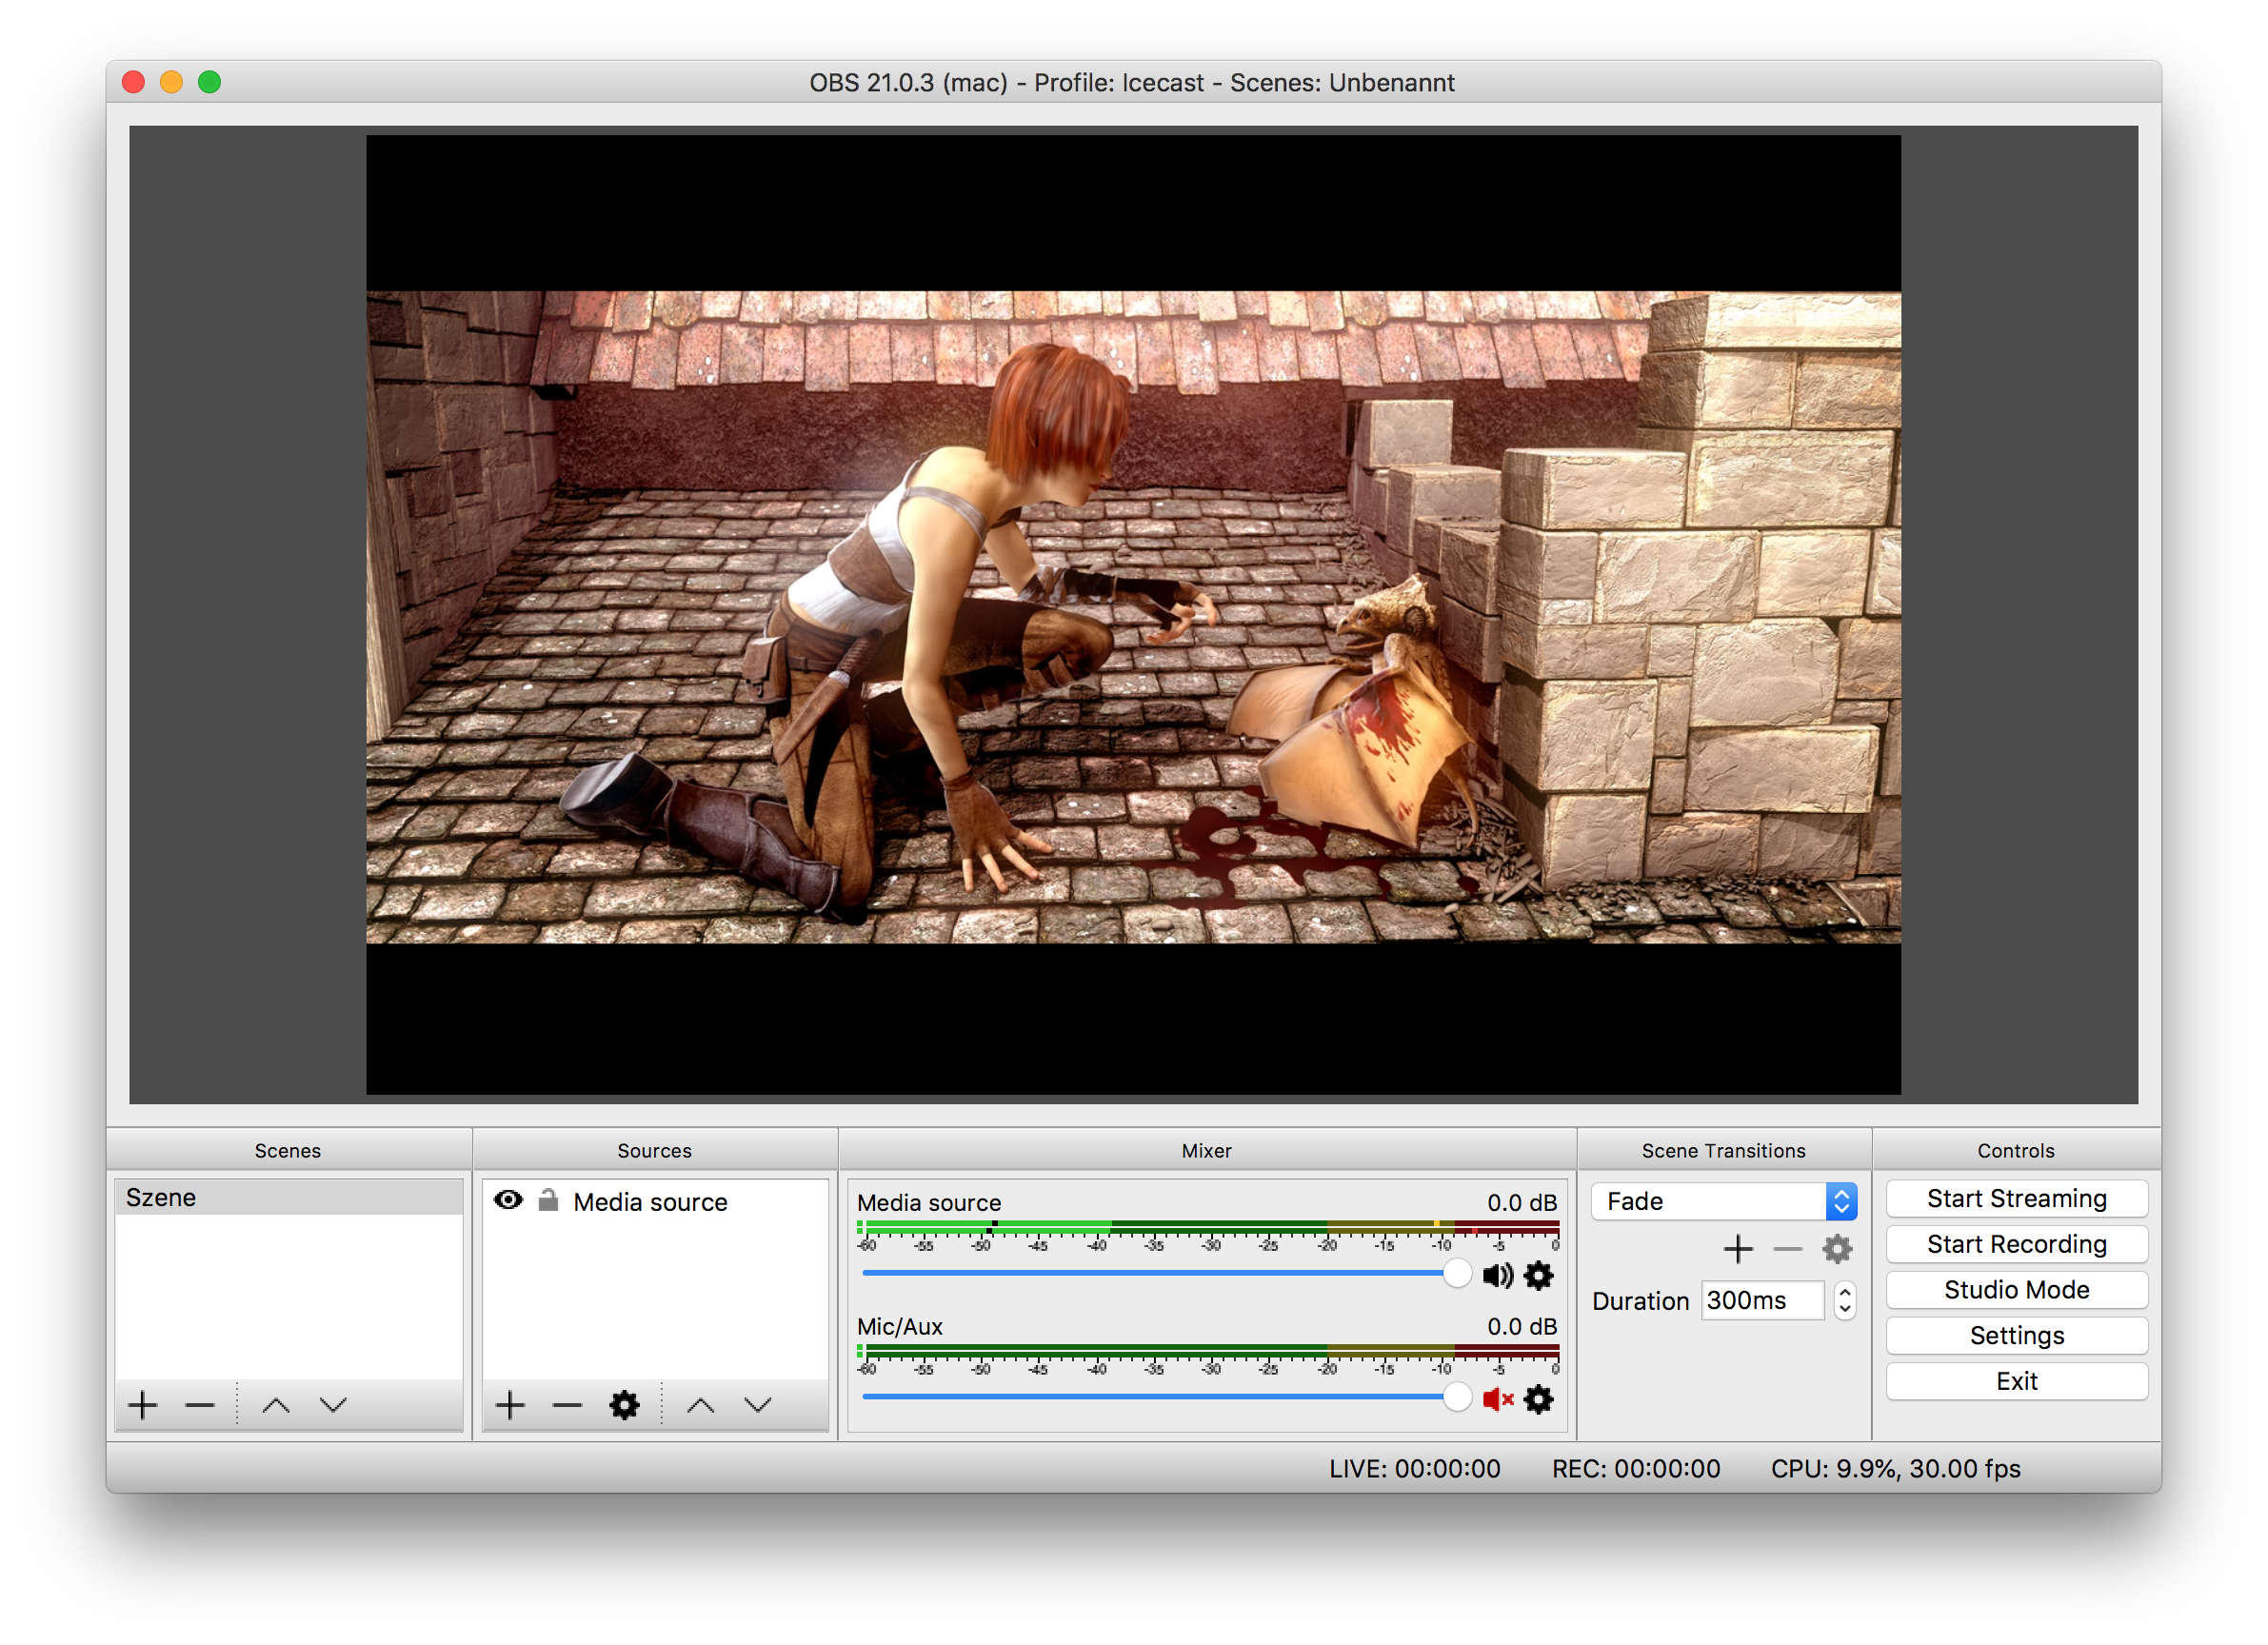
When you are done with the configuration, save and go back to our main window. Make sure the Icecast server is up and running, then click the “Start Recording” button to start the streaming to Icecast. As already explained earlier, as far as OBS is concerned, when streaming to Icecast with FFmpeg, it is “recording”, even though that’s not the case with our configuration.